DULUX TEXTURE MEDIUM COVER™
31 Jul 2012
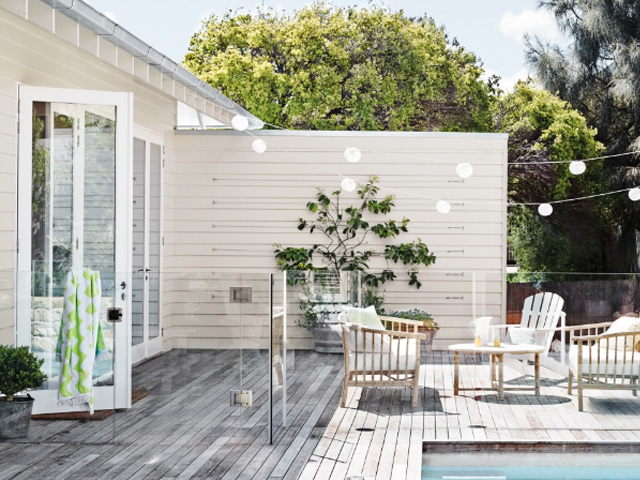
How to create an outdoor urban oasis using Dulux Texture Medium Cover™.

The fresh sunny days of spring and balmy summer nights make many people want to spend more time outdoors, making now the perfect time to update your outdoor space for the entertaining season.
Dulux Texture Medium Cover™ paint is an easy and inexpensive way to modernise and breathe new life into your outdoor living area.
Below is a step by step guide to transform your outdoor space into a poolside retreat or courtyard oasis using Dulux Texture Medium Cover™.
Things you will need:
- Paint brush
- Medium nap lambs wool paint roller
- Flat paddle
- External grade masking tape
- Lambs wool hand mitt applicator
- Stiff bristle brush (if patterned criss-cross finish is desired)
- Closed cell sponge (if softened textured finish is desired)
- Plastic drop sheets
- Dulux Texture Primer™
- Dulux Texture Medium Cover™
Step 1: Clean, brush and dust
Remove mould, moss and algae with bleach and/or de-mossing chemical then rinse with fresh water. Sand off all loose or peeling paint and fill any cracks or holes with a suitable exterior grade filler. Wash down with water using a stiff brush to remove all loose material and dirt. Allow to dry.
Step 2: Surface Preparation
Mask off any areas you wish to avoid treating such as adjoining walls or a window edge using external grade painters tape. Lay down plastic drop sheets to protect the ground from paint splatter. Apply one coat of Dulux Texture Primer™ which fills masonry pores and minor imperfections, providing a sealed and adhesive surface
which greatly assists application of subsequent texture coats. Allow to dry.
Step 3: Application – Cutting in
Stir the Dulux Texture Medium Cover™ paint with a broad flat paddle, using an ‘up and down’ scooping motion.
Using a brush, apply sparingly to edges, internal angles and areas not readily accessible by mitt applicator and feather out. Do not leave thick straight edge lines.
Step 4: Application – First coat
Scoop Dulux Texture Medium Cover™ directly from the bucket using the lambs wool hand mitt applicator. Apply to the wall, working the material broadly across the surface in random circular patterns. Allow the surface to dry for 4 hours.
Step 5: Application – Second coat
Scoop the product onto the wall as in step 4 and finish using the following techniques to produce different effects.
Mitt Effect – medium texture style: Squeeze excess material from the mitt applicator and finish in random sweeping strokes to leave a distressed ‘bagged-textured’ pattern.
Sponge Effect – fine texture style: Allow the material on the wall to firm slightly. Using a clean closed cell sponge and a bucket of water, lightly smooth the applied material to leave a softened texture. Continuously clean the sponge in the water to remove excess material.
Brush effect – coarse texture style: Using a stiff bristled brush, finish in random sweeping or patterned criss-cross technique to your desired style.
Step 6: Clean Up and Enjoy
Clean up project tools with water.
Visit www.dulux.com.au for more information or to view Dulux’s 'how to apply' video’s online.


